Aircond (Indoor Unit) DIY Cleaning

Simple cleaning on aircond (indoor unit) only need to take out the filter and do basic washing. However, after some time, the indoor unit will accumulate more and more dust internally.
You do not need special tools to dismantle the aircond, just a screwdriver will do. Of course, you will need some basic know-how on how to do proper dismantle and re-assemble the cover and parts.
1) Remember to power OFF the aircond before start any activities.

2) Open the cover and remove the filter (left and right panel)


3) Open the louver and locate the 2 screws cover at left and right. Use screwdriver to remove the screws.
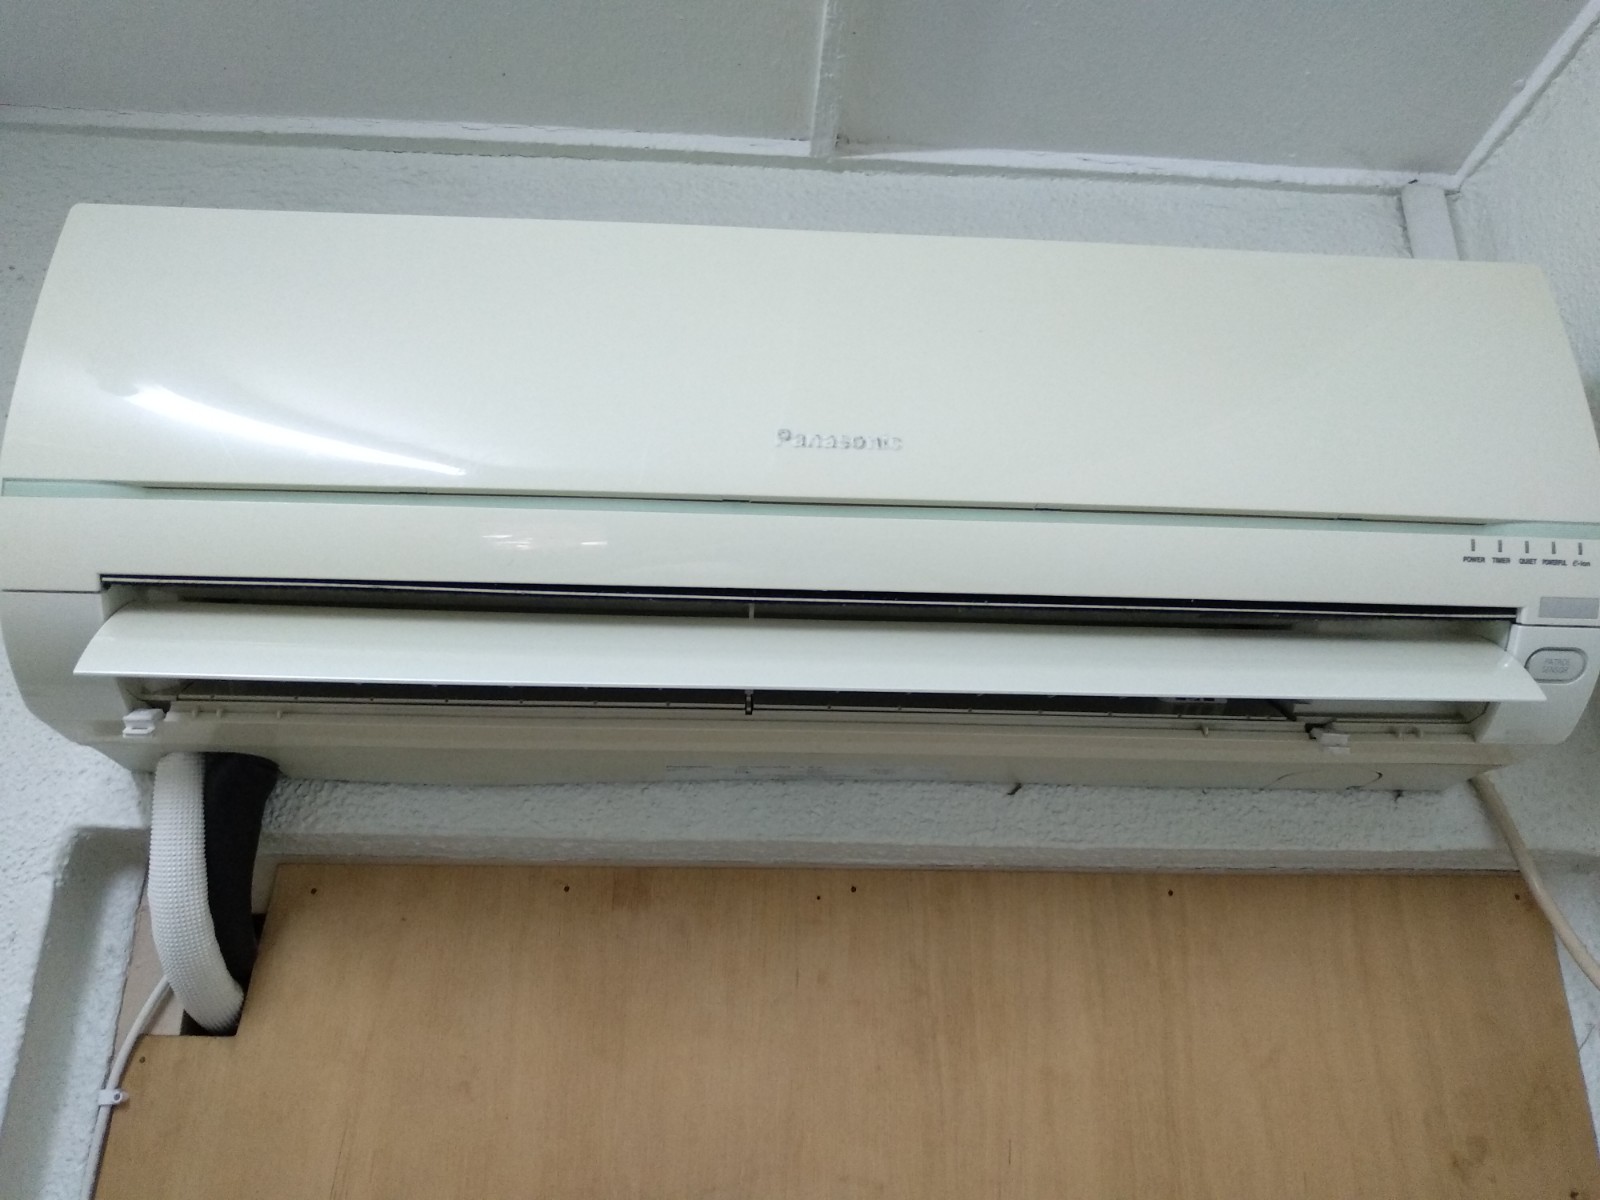


4) Take out the cover from indoor unit


6) Remove the horizontal airflow louver with care. You will need to understand the locking mechanism and the direction to unlock it from the aircond indoor unit.


8) Clean the horizontal louver and vertical louver with water

9) Now you can see the whole naked indoor unit full of dust.


10) You may start clean the indoor unit using brush and wet cloth. You may also spray aircond cleaner foam on the fins for better cleaning effects. (Note: Don't spray it on the electronic parts)

11) These photos show the indoor unit after cleaning.


13) For comparison, the photo below shows the before cleaning (top) and after cleaning (bottom).

14) You may consider to get this tool to clean / repair the fins (optional)

15) After completed re-assemble process, you may now switch ON the aircond to feel the cold & clean air again.
