Monday, August 16, 2021

DIY Series 19 @ MCO: Mini Dancer

Design a DIY Mini Dancer using only a single AA battery to operate it. This DIY project was done many years ago and shared to primary school students during a fund raising event.

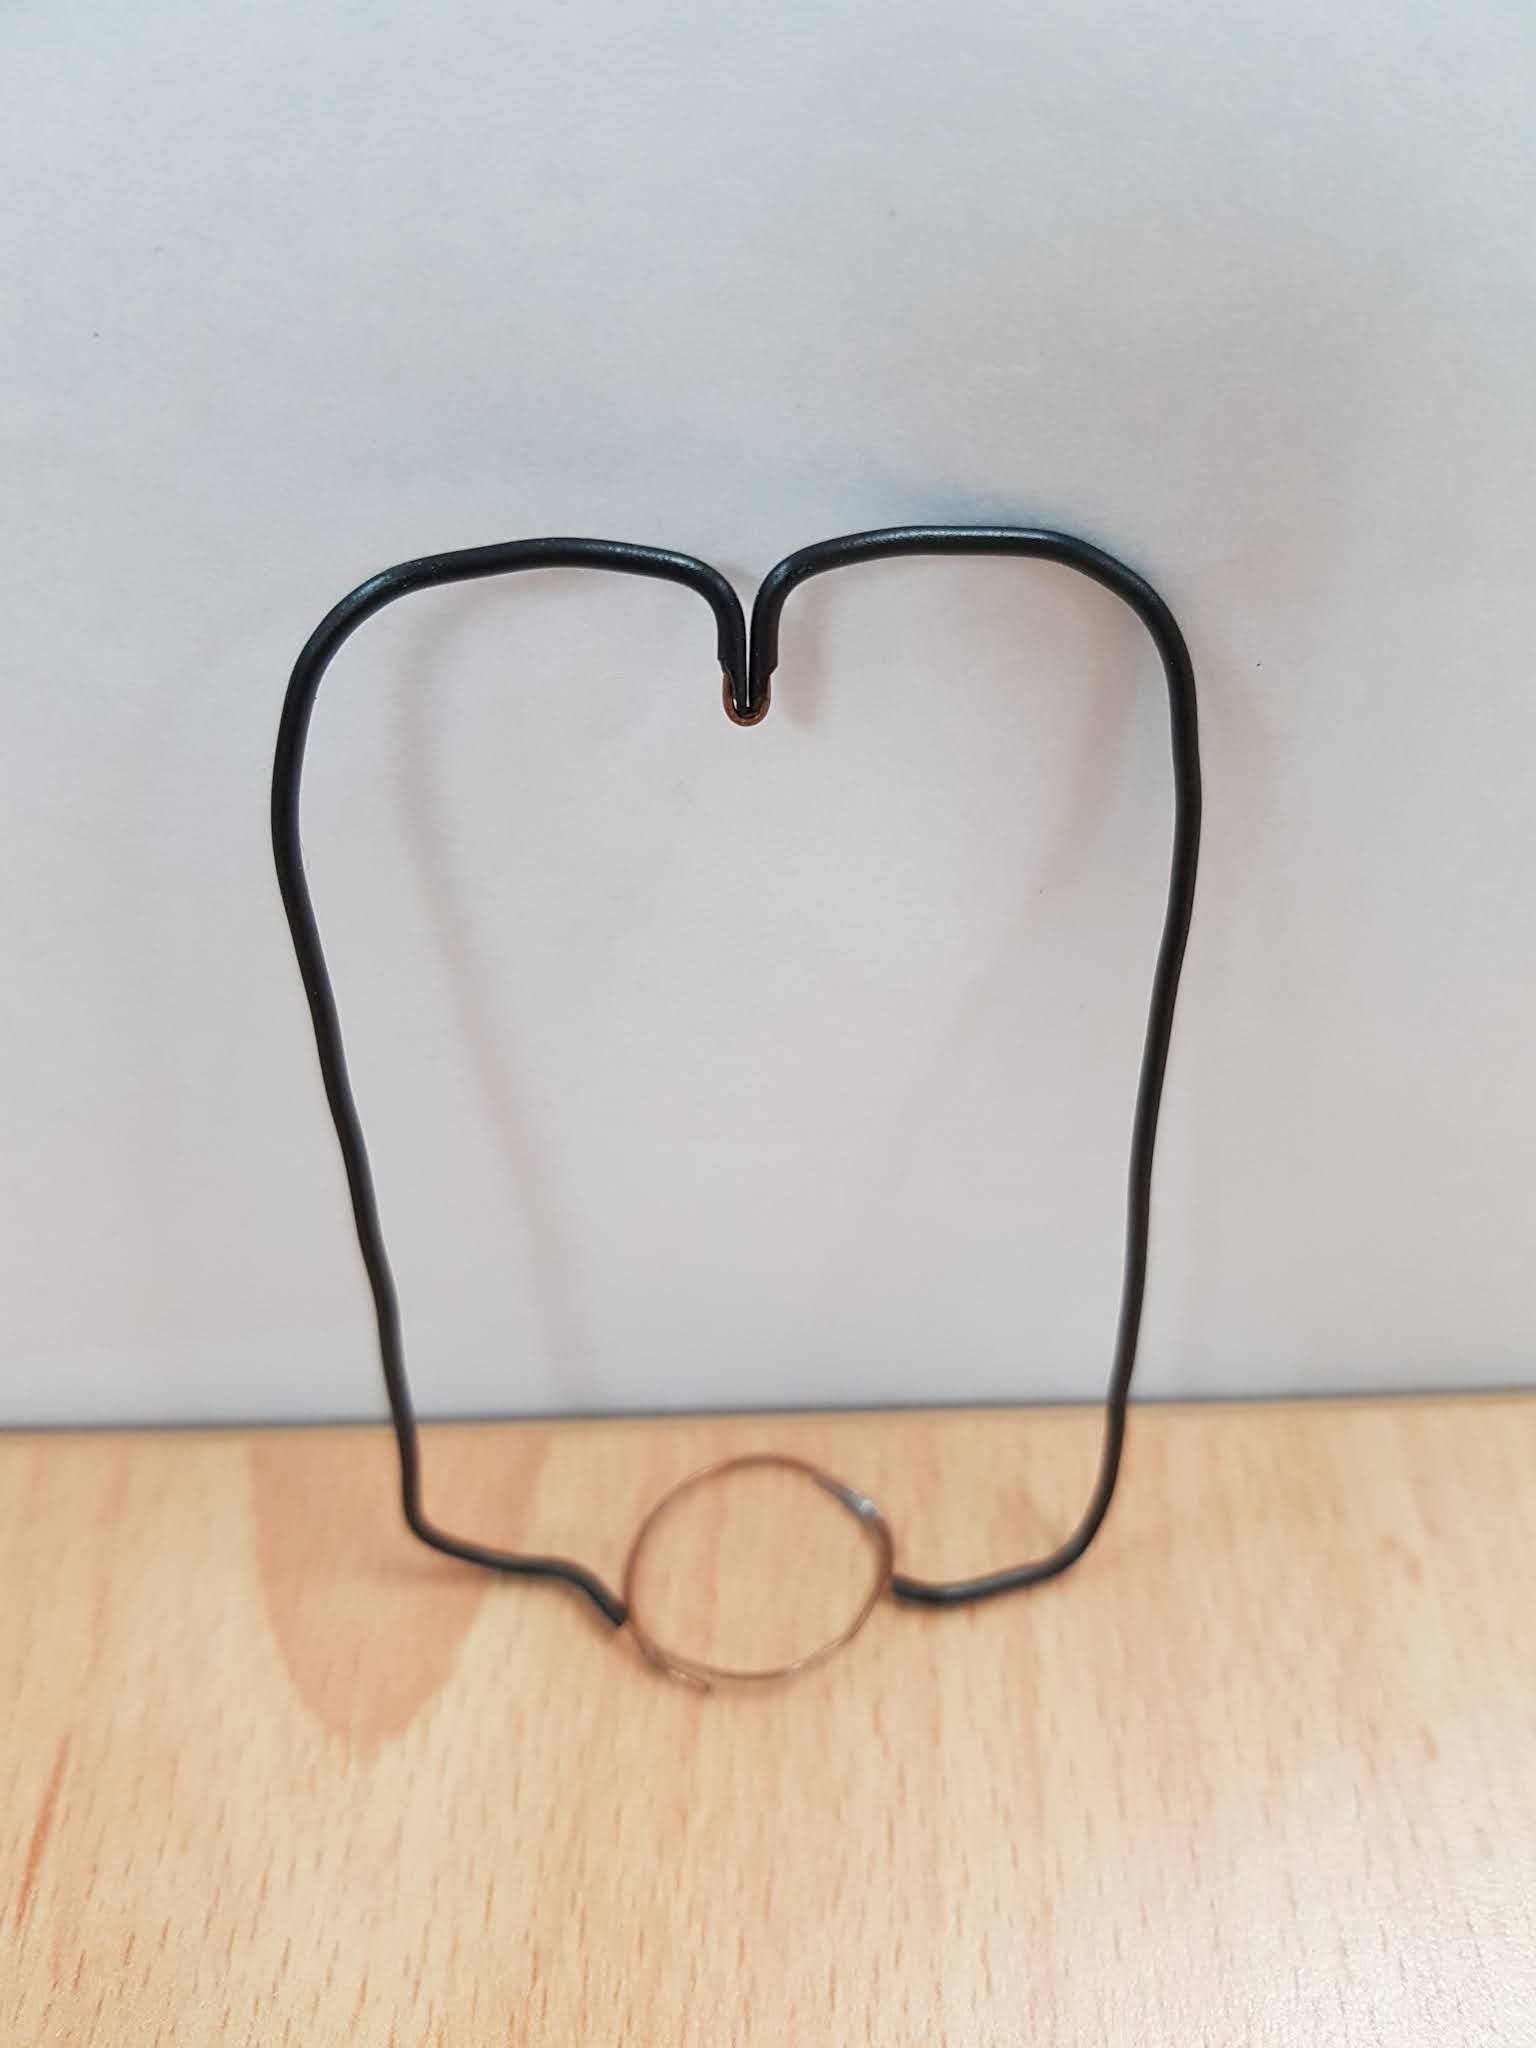
I called it "Mini Polarized Dancer", which utilizing magnetic force from magnet, battery and coil to rotate it.

1) Basic concept of homopolar motor

2) Modified the idea into a polarized dancer
3) Start to prepare copper wire
4) Forming the base (circle shape) using AA battery
5) Band the wire according to desired shape, with various ideas for different designs
6) Adding decorative topping
7) Prepare 5 units of Neodymium Magnets as base (more magnet will give more magnetic strength) as base
8) Add AA Battery on top of the base magnet
9) Padded another magnet on top before placing the dancer
10) Final Models (Prof Owl, Chubby Chirpy, Chicky Jr.)
11) Complete video available at Youtube, "My Mini Dancer"

Sunday, August 15, 2021

DIY Series 18 @ MCO: Stationary Exercising Bike

Nowadays even cycling around the residential area might have high chances of getting Covid19 infection. How about DIY a stationary exercising bike?

Searching online, I've gathered some basic ideas on how to design a custom one for my own use. I've got some plywood that can be utilised for this project.

1) Get ready an electric saw, measuring tools and the plywood.

2) Measure the required dimension based on your bike wheel size and height. Cut the plywood accordingly.
3) Get ready the joints, screws, and nails for parts assembly.
4) Use the power tools to assemble the plywood with screws. I used a hammer and nails for stronger support structure. After assembling, I trimmed certain edges with an electric saw to suit my bike's requirement. Make two U-shape holes to position the bicycle stunt pegs in place.
5) The bicycle is now converted into a stationary exercising bike.

Note: You will need to have these 2 units of bicycle stunt pegs installed at the back wheel of your bicycle.
Example:

Improved: Enhanced the structure strength by adding these:
Improved: Added a 6V dynamo at the rear wheel to create certain resistance / load while generating electricity to the light bulbs at the front and rear.


Exercising on my DIY Stationary Bike 😉

Saturday, August 14, 2021

DIY Series 17 @ MCO: Make Your Own Noodles

DIY your own noodles is so easy with just any noodle maker. Technology makes life easier!
You can source any noodle makers online, look for a model that suits your needs.

Example: Pensonic Noodle House PNM-01

1) Put the flour into the mixing chamber. Power ON, choose a mode (Springy Noodle / Quick Noodle) and press "Confirm / Cancel" to start operation.

2) When it starts mixing, pour the exact amount of water through the gap at the top. It is important to follow the recommended ratio.

3) The process will start from "Knead" to "Rest" and finally to "Extrude" automatically. The control panel will display "OFF" and emit a beeping sound to signal the end of noodle making process.

4) When there isn't any noodle extruded, the dough is either too dry or too wet. (I gained experience through trial and error)

a) Too Dry: add adequate water and press "Extrude" again.
b) Too Wet: remove the dough from chamber, tear it into small pieces, add more flour and press "Extrude" again.

5) Repeat "Extrude" function until all the dough completely extruded. Apply some flour to the noodles extruded to prevent sticking.

6) The noodles are now ready for cooking.
7) Finally, we have a plate of yummy soy sauce noodles. Cook your noodles in soup or whichever style you like.
It is so simple and healthy. Enjoy!

Sunday, August 01, 2021

DIY Series 16 @ MCO: Stainless Steel Rods Cleaning

Cleaning Stainless Steel Rods Using Bathroom Detergent Cleaner
I choose this detergent cleaner to make my tempered glass coffee table's stainless steel stand / rods shining again after polishing it.
Note: This product is slightly corrosive to the surface of some materials. 

1. Get a piece of dry cloth ready
2. Spray the detergent directly on the stain
3. Leave for few minutes to dissolve the stain
4. Rinse directly with water
5. Wipe with dry cloth
6. After use, it is now clean and shining

Before Cleaning


After Cleaning
The "re-born" coffee table is now the "shining star" in my living room.

DIY Series 15 @ MCO: Get Additional Bidet Hose

Turn Your Toilet Water Tap into a Bidet Hose Tap
1) Get ready a set of bidet hose and prepare the necessary tools.
2) Dismantle the existing water tap.
3) You will see a hole on the wall, clean the hole if there is any debris inside.
4) Install the newly purchased bidet hose set and test the water flow.
5) If the bidet hose is too long, you can add a holder at the toilet tank. Else, just hang it at the designated place at the new water tap.
6) There are 2 types of bidet hose tap. I personally tested both and recommend the one on the right. This is because one would have a better control of the valve with a thumb. The hose holder on the left picture functions as a valve and one might accidentally twist and turn it on before getting ready with the aim.