Monday, July 22, 2024

How To Get Digital TV Signal?

How To Get Digital TV Signal?

MyFreeView TV was officially launched at 6 June 2017. It is free TV Channels within Malaysia that implemented digital ground broadcasting. According to MyTV Broadcasting, current coverage for this service in average of 99% within Malaysia. 

Check for Coverage (Example):

  • View the list of transmitters, there are 3 nearest transmitters: Gunung Jerai, Seberang Jaya, Penang U4.

  • Based on the info above, it is known that only 2 frequency bands needed for this area:
    • CH43 (650MHz)
    • CH45 (666MHz)

    Accessing Digital TV Broadcast:

    • In order to watch free TV Channels, you will need to know if your TV is made before 2017 (Old TV) or after 2017 (New TV).

    • There are 3 main items required to receive TV signal (Old vs New)
      • Old TV (made before 2017) or New TV (made after 2017)
      • External DVB-T2 TV Decoder Box (for Old TV) or Built-In DVB-T2 Decoder (for New TV)
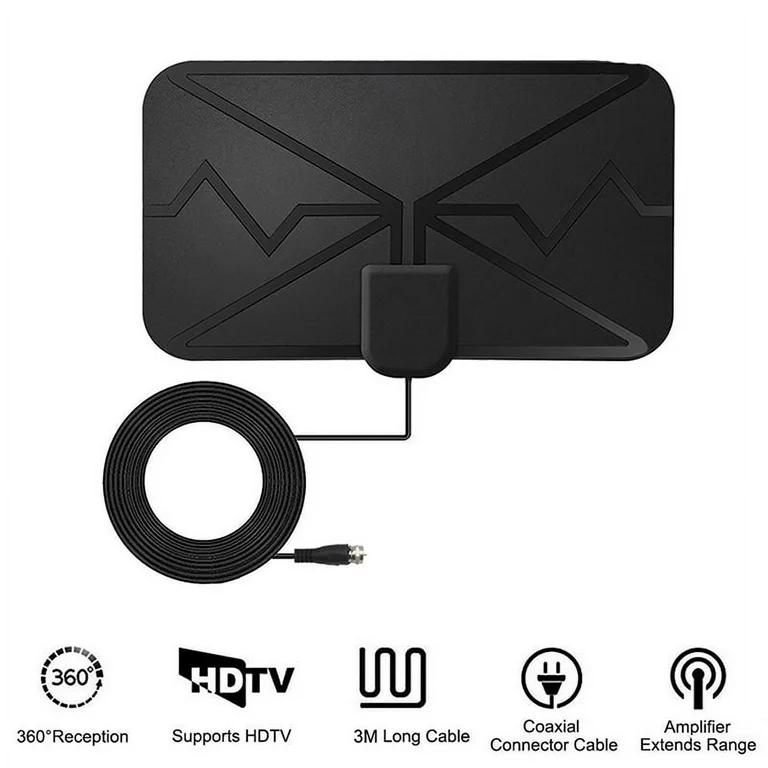
      • Outdoor UHF Antenna or Indoor UHF Antenna (both options applicable for any TVs)


    TV Channel Tuning (Example for New TV with Built-In DVB-T2 Decoder):
    • Option #1: Auto Tuning

      • Press "Home" > "Settings"
      • Navigate to "All Settings"
      • Choose "Broadcasting" > "Auto Tuning"
      • Start "Auto-Tuning"
      • Select "Scan" to Proceed
    • Option #2: Manual Tuning
      • Press "Home" > "Settings"
      • Navigate to "All Settings"
      • Choose "Broadcasting" > "Expert Settings"
      • Select "Manual Scan"
      • Choose "Digital Channel Scanning"
      • Select the target Channel Number & Frequency
        • CH43 (650MHz)
        • CH45 (666MHz)

    TV Channel Tuning (Example for Old TV with External DVB-T2 Decoder):
    • Power On your Old TV, connect the External DVB-T2 Decoder to your TV using either HDMI cable or AV cable (depends on the option available on your Old TV).
    • Change your TV Input to the correct Input Selection (which connected to the External DVB-T2 Decoder), e.g.: HDMI1 or AV.
    • Use the External DVB-T2 Decoder Remote Controller: Menu > "Auto Tuning" or "Manual Tuning" > Search 

    TV Channels & Radio Channels:
    • Auto Tuning in Progress
    • Auto Tuning Completed
    • Total of 15 TV Channels & 17 Radio Channels available (example as below)


    How to Get Best Offer for Panasonic Water Heater?

    How to Get Best Offer for Panasonic Water Heater?

    Planning to get a new water heater for your new home or replace the current one with DC Pump for smoother water flow. 

    Take a look on Panasonic Home Shower Campaign 2024. It is now extended till 15 Aug 2024 30 Sep 2024. 

    • Take your showering experience to the next level with the Panasonic Home Shower.
    • Get yours today to enjoy a TNG rebate of up to RM60!


    Selected Models for this promotion:
    • You can either opts for models with or without DC Pump (Jet Pump)

    How to join?

    • Purchase selected Panasonic Home Shower in a single receipt
    • Scan the QR Code, upload a picture of the receipt and fill up the required field
    • Keep original receipt(s) for verification
    • Receive Touch ‘N Go credit within 30 working days

    Promotions start now until 15 August 2024, shop now! 

    Where to Get the Best Offer?

    • Based on my online survey, you can get the best offer at Shopee (https://my.shp.ee/HPwgUXd)
    • Use Shopee App for better offer
    • For example: You may choose this model, Panasonic V Series (DH-3VP1MW)

    • Collect the shop vouchers from Shopee, up to RM40 off
    • Add into your cart and apply Shopee voucher for additional discount
    • Place order and wait for delivery. It costs only RM384.68 after rebate
    • Upon received your order, click the "View" at the Receipt to get the Order Invoice
    • Click "Send" to get a copy of the Order Invoice at your email

    • The Order Invoice is needed to claim for the TnG credit from Panasonic (Limited redemptions available on a first-come, first-served basis. Terms & conditions apply.)

    Claim the TnG Credit from Panasonic?
    • Scan the QR Code, upload a picture of the receipt and fill up the required field
    • It is now extended till 15 Aug 2024. Hope you eligible for the promo!

    Rebate Received from Panasonic Assigned Partner
    • Email received from Panasonic assigned partner within 7 working days
    • Rebate direct credited into TnG eWallet

    Check the Price at Other Shops for Comparison
    • You may do your own price comparison at other online platforms or physical shops

    Other Related Promo from Panasonic (extended 15-Aug-2024 22 Sep 2024):

    Wednesday, July 17, 2024

    DIY Series 64: Fixing Midea Washing Machine (MFW-701S) No Water Flow In / Kept Draining Out

    Fixing Midea Washing Machine (MFW-701S) No Water Flow In / Kept Draining Out

    Symptoms:

    • No water flow in during washing mode, unable to start washing
    • Water keeps draining out if manually pour in water into washing machine
    • Washing Machine will enter Error Mode when left it for a period of time (LED Blinking)

    Videos:

    1. Washing machine is working upon Power ON, but no water flow in
    2. Water keeps draining out if manually pour in water into washing machine
    3. Washing machine is work fine after fixing done


    Photos:

    1. Remove 4 screws at the side of top cover (refer Item#3 in this link)
    2. Open up the top cover to locate the compartment underneath the top cover
    3. Unscrew all screws to remove the plastic cover
    4. You can see Door Lid Switch, Water Inlet Valve and Water Level / Pressure Switch
    5. 1st Trial, changed a new Water Inlet Valve but water still not flowing in
    6. Next, disconnect the wiring and tube from Water Level / Pressure Switch
    7. Get a new Water Level / Pressure Switch
    8. Replace with new Water Level / Pressure Switch


    Note:

    • There is possibility of either one of the Water Inlet Valve or Water Level / Pressure Switch malfunction, that causing no water flow into washing machine.
    • However, if the water kept draining out during washing mode, it is definitely caused by the Water Level / Pressure Switch.
    • Since I already bought both parts for debugging, I replaced both parts although later found out the Water Inlet Valve is still working.

    Tools Required:

    Cost involved:

    • Water Inlet Valve: US$2 ~ US$3
    • Water Level / Pressure Switch: US$4 ~ US$6

    Monday, July 01, 2024

    DIY Series 63: Fixing Samsung TV (UA48J5200AK) with Black Screen

    Fixing Samsung TV (UA48J5200AK) with Black Screen

    Symptoms:

    • TV screen is having black screen when Power ON
    • The IR Receiver LED is blinking 5 ~ 6 times upon Power ON using remote control

    Try this before any hardware replacement:

    Video:

    • IR Receiver LED blinks 5 ~ 6 times

    Photos:

    1. Turn the TV to the rear side, unscrew 4 screws from the stand
    2. Remove the stand, place the TV screen on a soft mat
    3. Unscrew 3 screws under the stand with "M" marking
    4. Unscrew 1 screw near "HDMI IN 1 (STB)" with "M" marking
    5. Remove all screws along the edge at 4 sides of the back cover
    6. There are 5 boards observed: Control Board (Left), TCON (Timing Controller) Board (Center), Power Board (Right), also another 2 units of Display Panels Board at the bottom edge.
    7. Disconnect IR Receiver and WiFi Module from Control Board
    8. Disconnect Speakers from the Control Board
    9. Location of Backlight LED connector and disconnect it from the Power Board
    10. Detach the LED Panel Boards, and start to unlatch the black bezel along the edge at 4 sides
    11. Remove the bezel from the TV frame
    12. Use masking tape to hold the 2 units of Display Panel Boards onto the screen, remove the screen gently (Caution: Fragile)
    13. Unlatch the 4 side edges black plastic holder
    14. Remove the backlight front diffuser layer from the TV frame
    15. Remove the backlight rear diffuser layer on top the Backlight LED Strips
    16. Connect the LED Tester at the LED Strips (+ and - terminals) to check its conditions
    17. Buy new Backlight LED Strips online for replacement 
    18. Test the new Backlight LED Strips using LED Tester before replacing the broken one
    19. Connect the 1st half of Backlight LED Strip to the LED connector
    20. Connect the 2nd half of Backlight LED Strip to the end of 1st half
    21. Connect the LED Connector and the Power Cord, Power ON to check Backlight LED Strips (all should be ON). Turn OFF after confirmation is done.
    22. Assemble whole TV back to normal, and Power ON to check the result
    23. Proceed Auto Tuning to complete scanning of all available channels 


    Tools Required:

    Cost involved:

    • LED Tester: US$10
    • Used Power Board (replace if needed): US$22 ~ US$30
    • New Backlight LED Strips (4 rows in a set, replace if needed): US$10 ~ US$20
    Related Info: