Saturday, July 10, 2021

DIY Series 6 @ MCO: Foldable Bed with Roller

Foldable bed is always a good option to have spare beds for visitors.
To keep the foldable bed required certain space, most suitable location is under the existing bed. To make it easier to shift in/out, I think of a good idea. I want to install rollers for the foldable bed.

Below shows how and where I placed the rollers onto the foldable bed.

After installed the rollers, I will demonstrate how to fold the foldable bed as below.
Next, I will show you a video on how to shift it under the bed.

Lastly, lock the rollers (2 rollers facing outside) to stop it from moving.

This is the image after place the mattress on top. I choose foldable mattress for easy storage

DIY Series 5 @ MCO: Clean The Washing Machine (2)

After 2 weeks of cleaning using powder to clean the washing maching drum, I want to try another method. I want to try to dismantle the drum and wash it externally. In order to do so, I need some tools to help me. So, I have the following tools ready.
The last tool at the bottom of the photo above is the only tools that I do not have 2 weeks ago. So, I waited for 2 weeks for this tool (Special Wrench). You may find it at Lazada or Shopee.
I will show you how to dismantle the Panasonic washing machine
First open the lid
Remove the latch at left side and disconnect the spring at right side of the lid
Next, unscrew the 4 screws at both side of washing machine
Then, remove the water inlet connection at washing machine
You will need to remove the top cover of washing machine
Next, unlatch the cover of the drum
Use the screwdriver to unscrew the pulsator
Leave the screw remain attached slightly to the pulsator to hold it to take out the pulsator
Use the special tools (38mm wrench) to remove the spinner shaft flange nut. Hit the special tools by pushing it anti-clockwise in order to unscrew the nut.
Next, unscrew another nut using spanar
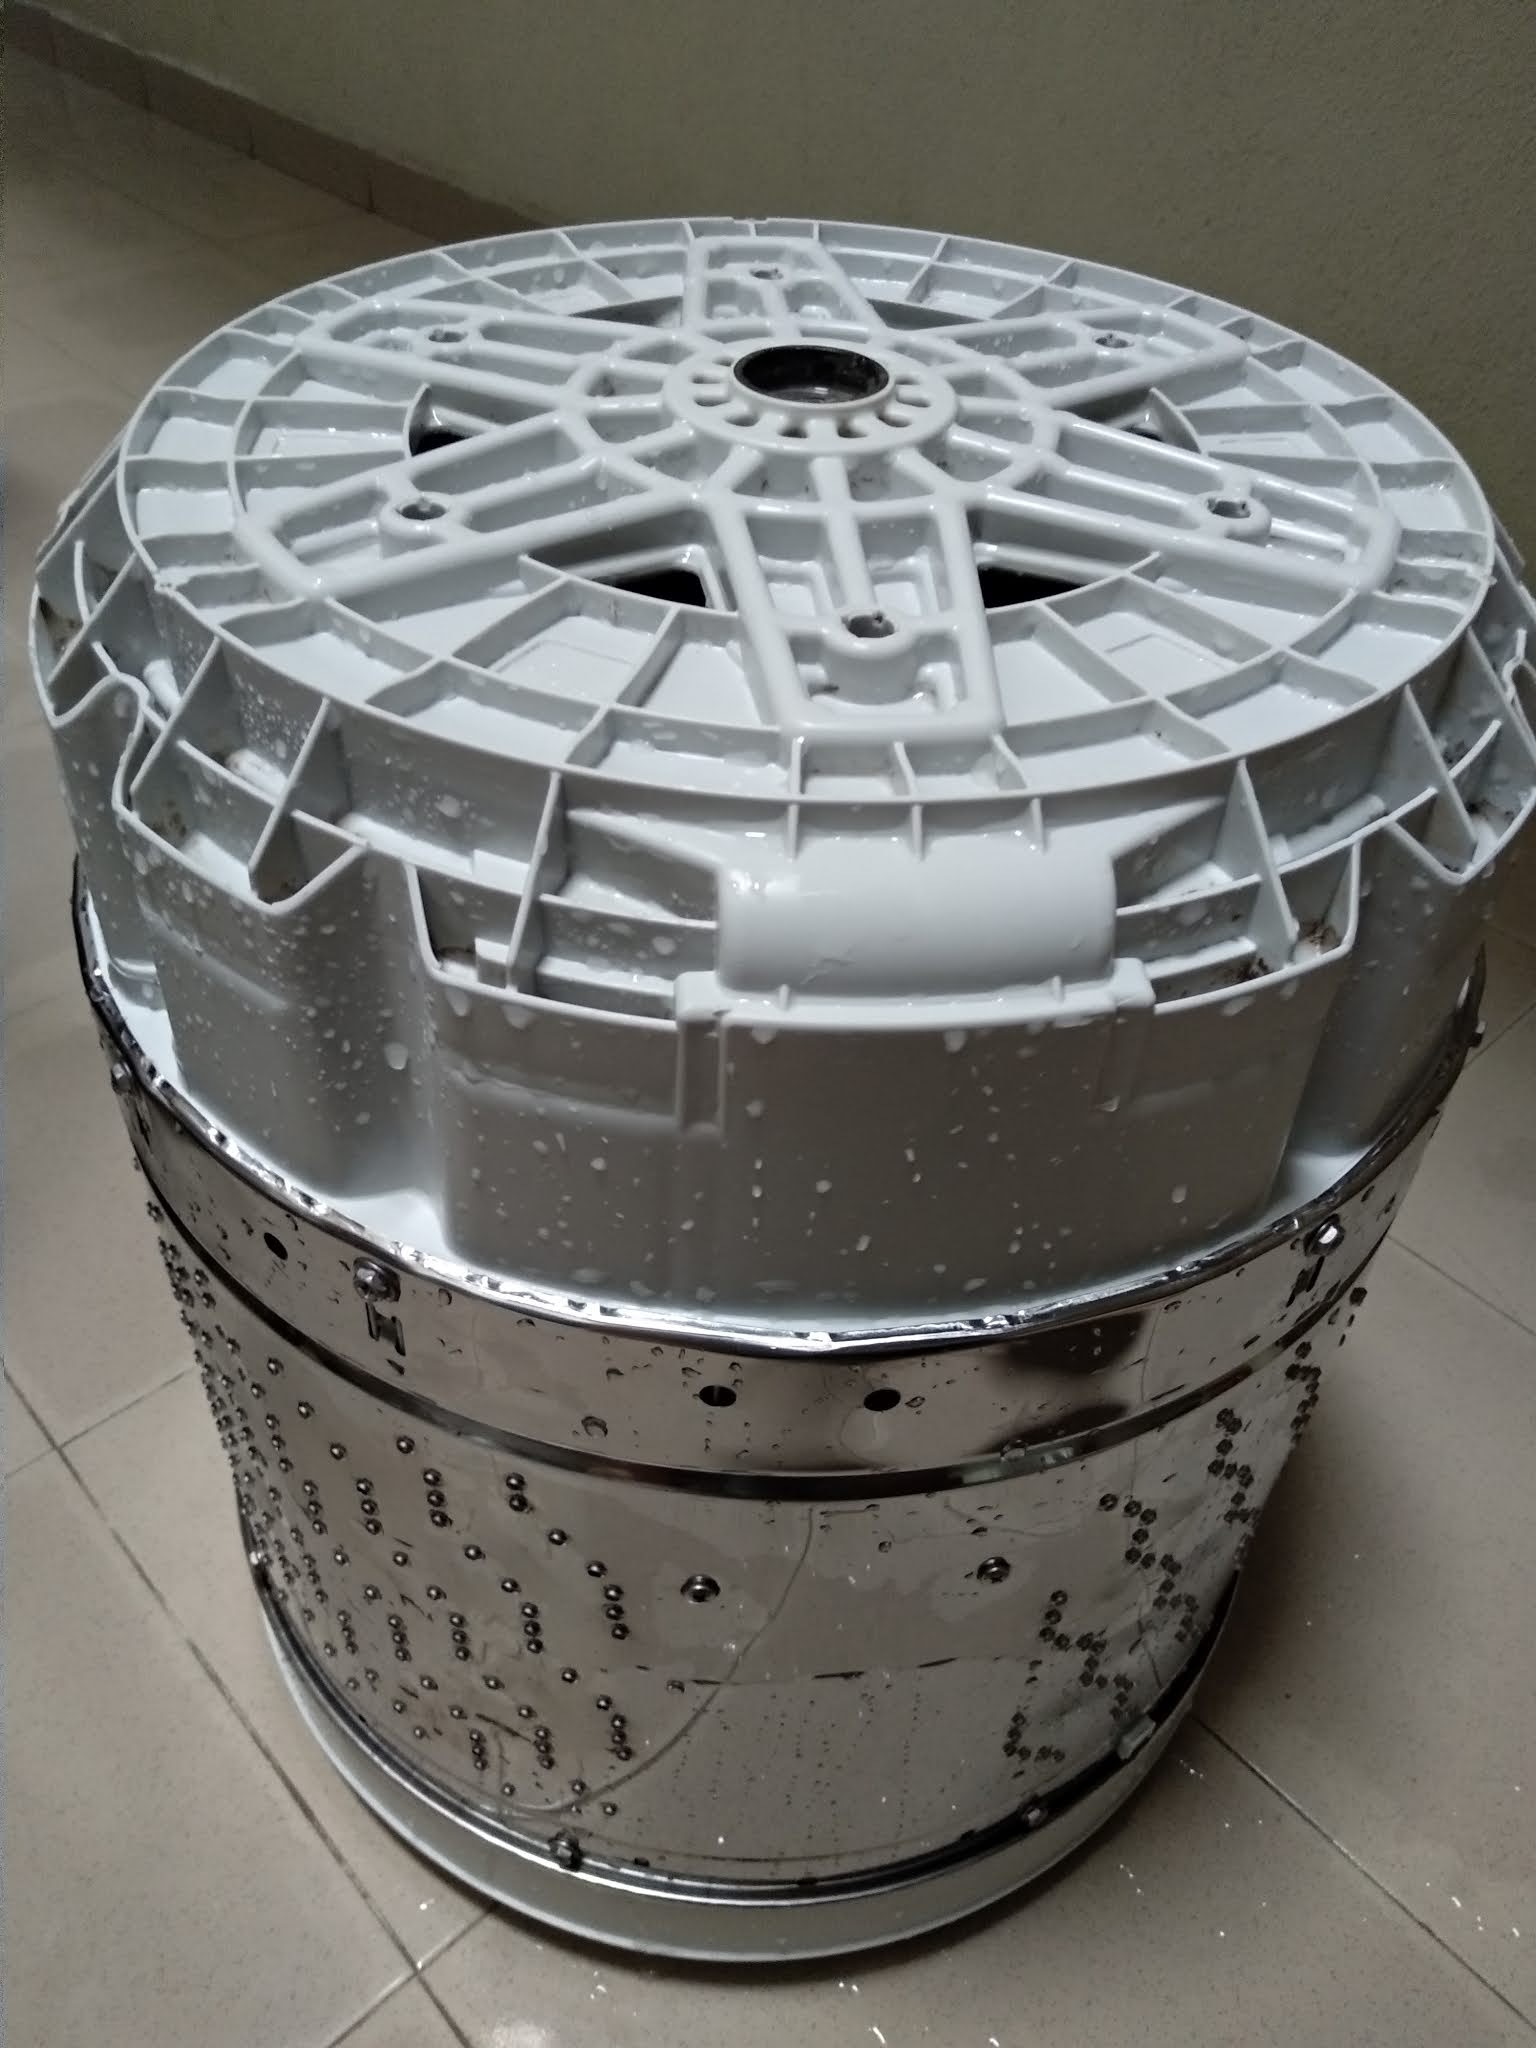
Now, you may take out the drum by shaking gently and move it upwards.
See how dirty is the drum external wall and the bottom side. Although it was clean using powder 2 weeks ago, but yet still unable to clean it completely.
To start cleaning, wear a glove to protect your hands from injury. Use toothbrush or any other cleaning tools to remove the dirts from the drum. It may take about 1 hour in order to clean it completely.
Here is the drum after cleaning
Now, wash the tub of the drum inside washing machine. After cleaning is done, wipe it with a cloth.
You are now completed the drum cleaning. You may reinstall back the drum, the drum cover, then the washing machine top cover and finally the lid.

Lastly, do a complete cycle of cleaning to make sure it is still in working condition. Have a try.

DIY Series 4 @ MCO: Clean The Washing Machine (1)

Washing machine need regular cleaning in order to have clean drum to do the washing. Else, the dirts will be stick onto the cloths after washing.

There are 2 possible methods to do the cleaning.

  • Using cleaning powder
  • Dismantle the whole drum for cleaning

    Let me share with you the 1st method in this sharing.

    First, you will need to buy the cleaning powder from online platform (eg: Lazada, Shopee, etc.) or from local shops.

    Pour the powder inside the washing machine, start the washing mode to stir the powder with water for 2 to 3 min. After that, pause it and soak it for 2 to 3 hours, then re-start the washing process.

    After completed the washing, you will find the dirts at the pulsator.

    You may remove the pulsator using screwdriver or power tools. Wash the pulsator and screw it back
    You may also put an unused cloth into the washing machine and do a complete cycle of washing. The dirts will be collected by the unused cloth after washing.

    Next, clean the filter too. It is done by now.

    For better filtering, you may buy an additional filter as below, just put inside the washing maching during washing.
    After washing, you will find the dirts trap inside the filter
    Although the powder can clean the dirts but it is not the best solution for complete cleaning. I will share the 2nd method in next sharing.
  • Tuesday, July 06, 2021

    DIY Series 3 @ MCO: Water Tap for Washing Machine

    Wonder if you are still using the left side water tap for your washing machine? Everytime when you need to change the water tap, you will need to spend some times to fix the inlet hose tap connector. Sometimes, after screw it, the water still leak out, hmm.... how to solve it?

    You may consider to use the double tap on the right side. Just plug in the inlet hose tap after install it. That's all, no need to screw it anymore.

    Best thing is, you will have additional water tap outlet for other usage, from now onwards.

    For the cost comparison, you may refer to the reference price below:
    Old Type: Water Tap (RM15.00) + Water Tap Connector (RM7.90) = RM22.90
    New Type: Double Water Tap (RM25.00) = RM25.00, you may add additional valve (RM10.00)

    The best saving is save your time to fix the Water Tap Connector! You no longer need to do so.

    You may need additional items / tools as below.
    1) Locking Plier (I recommend this type for easier usage and you can control just enough torque when tighten the water tap)
    2) Plumbing White Tape

    All the above suggested items are available at Lazada or any hardware shop nearby.